Lever Microswitch
What it is
A springy snap-action button with a lever arm.
When to use it
When you need to make your own button, detect when something hits something else, or detect another binary movement.
How it works
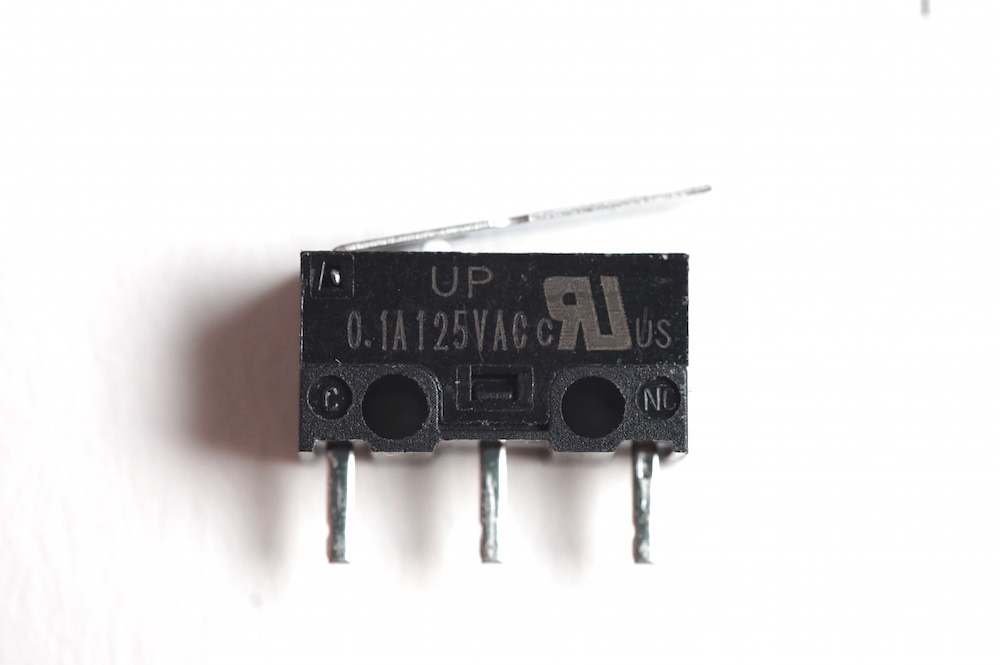
There are three connectors on the microswitch: COM, NC, and NO. COM stands for “common.” NO and NC mean “normally open” and “normally closed.” There are actually two switches in the microswitch available with these pins.
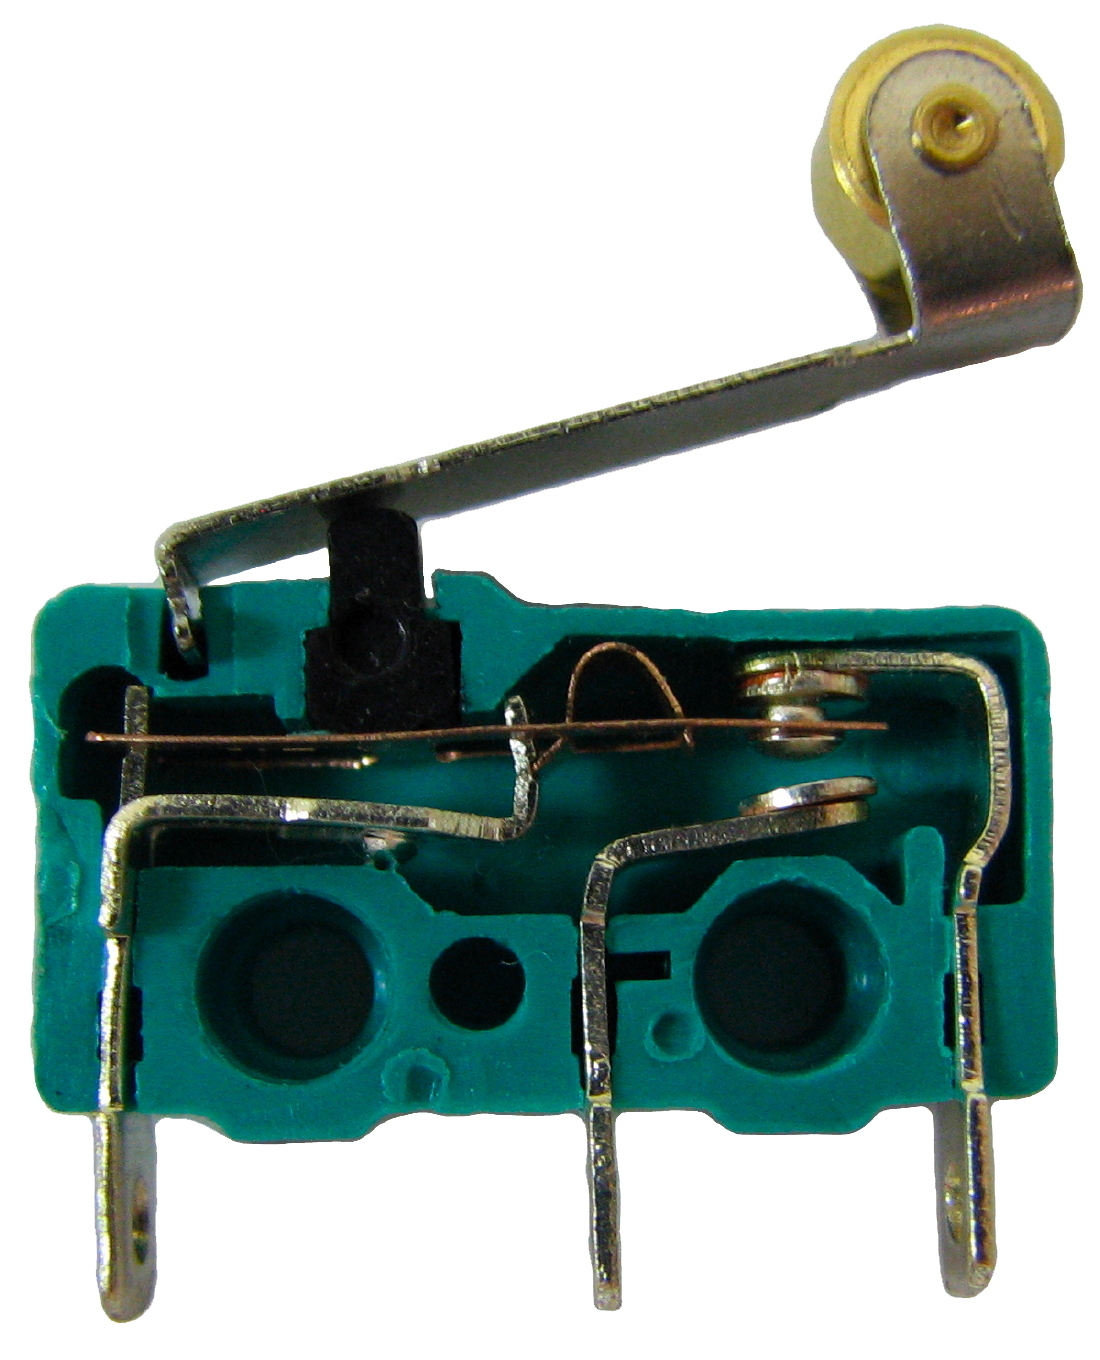
Image from author Benjamin D. Esham via Wikimedia Commons
The above photo shows the common pin (left) connecting to either the normally open or normally closed pins (center and right) depending on if the switch is pressed or not. When the button is pressed, it pushes the horizontal metal piece down to the terminal below.
If you connect the switch with the COM and NC pins, then those two pins are normally connected (a.k.a. “closed”) when you aren’t pressing the button. They are then disconnected when you press it. The opposite is true for the NO pin; if you connect the switch with the COM and NO pins, then those two pins are normally disconnected (a.k.a “open”) when you aren’t pressing the switch, and they are connected when you press it.
How to use it
Connect the COM pin to 5V and either NC or NO to a digital pin on the Arduino. Additionally connect a pulldown resistor between the digital pin and GND. See the above section for an explanation of the COM, NC, and NO pins.
Starter Code & Connection

For this example, the NO pin is connected to digital pin 2.
/*
 * This program reads a switch or button on pin ACTUATOR_PIN
 * and turns on and off the Arduino's LED.
 *
 * Created 2021-05-26 by Perry Naseck
 */

// Switch or button connected to digital pin 2
// and the onboard LED on pin 13
const int ACTUATOR_PIN =  2;
const int LED_PIN = 13;

// Variable to keep track of the current state
int actuatorState = 0;

void setup() {
  // Set up the actuator pin to be an input
  // Don't forget the pulldown resistor!
  pinMode(ACTUATOR_PIN, INPUT);

  // Set up the LED pin to be an output
  pinMode(LED_PIN, OUTPUT);
}

void loop() {
  // Get the current state
  actuatorState = digitalRead(ACTUATOR_PIN);

  // Turn on and off the LED based on the actuator
  digitalWrite(LED_PIN, actuatorState);
}